Back to Property Listings
How do I add a Property to PropertyPal?
1. After Logging in to PropertyPal.com, click on the ‘Properties’ tab at the top of the page, this will open the ‘Property List’ page.

2. Click on the ‘Add a Property’ button at the top of the page and choose the relevant property type. Fill in the property details.
NOTE: Some of these fields are mandatory.
When this page is complete, click ‘Next’.
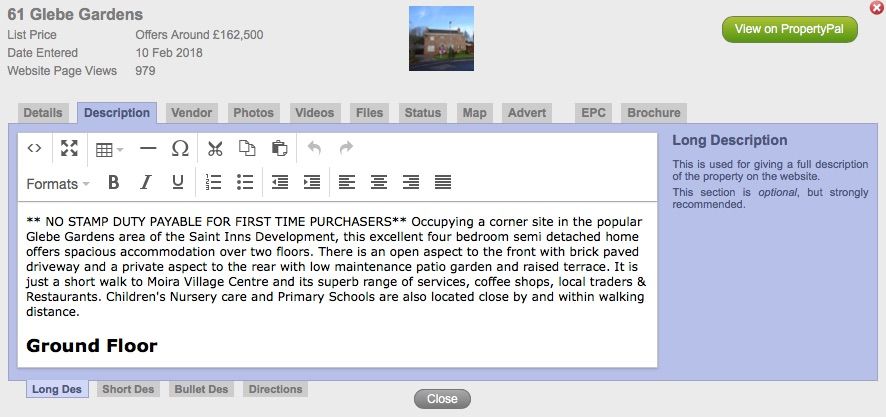
3. The following page is the property description. This is a free text box which allows you to type directly into the box or to copy and paste text from another document. When you are happy with the layout etc, click ‘Next’.
4. This is the vendor information page. Some customers use this system as a database and need to keep the vendor details. If this is the case with you, fill in the details of the vendor of the property. These details are private to your company and will never be published. Click ‘Next’ when you are ready to move on.

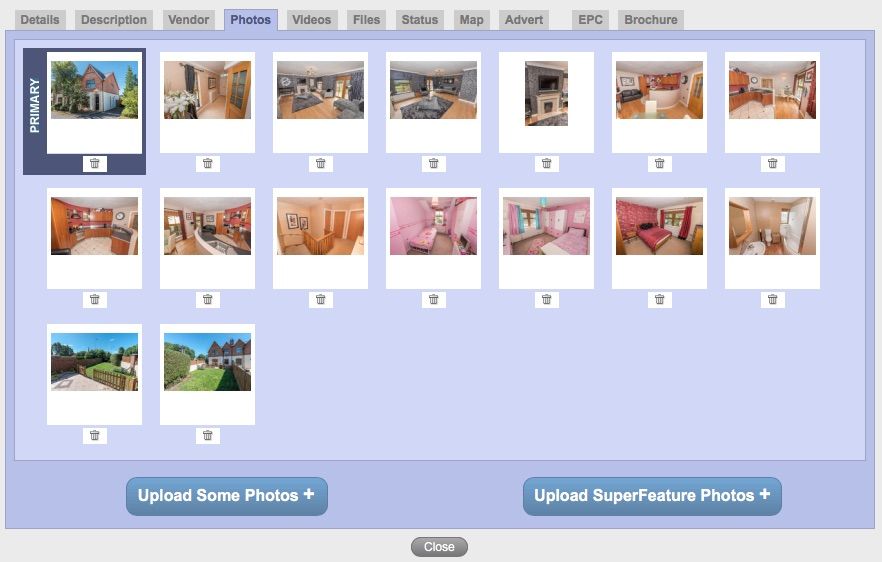
5. To upload photos of the property click on the ‘Upload Some Photos’ button. This will open a popup for the ‘Fast Image Uploader’. Click on ‘+ Add more photos’, then locate the relevant file where your photos are stored. You can either double click on a photo to upload it or, if you are uploading several photos, hold down the shift key on your keyboard and click on multiple photos. Once you have made your selection (as many photos as you like) click ‘Upload’. This will re- size the photos appropriately.

6. Once the images are uploaded you may find that they are not in the order that you would like them. To re-order the photos you simply drag and drop them into the correct order.
NOTE: The Primary image is the first image that will be seen on the website.
When you are happy with the order, please click ‘Next’.
7. The ‘Files’ page is where you will upload PDFs of the brochure of the property or any relevant planning permission or floor plans. This is not a mandatory item. To upload, simply click on the ‘Upload PDF Files’. This will open a window where you can choose your files. You will be required to specify names for these files when uploading; Brochure, or Floor Plan, etc will suffice.
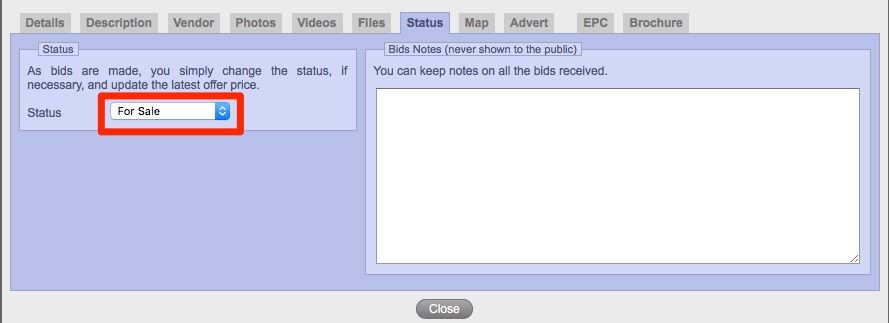
8. The next screen is ‘Status’. This is where you can keep a secure record of any bids received on a Sale property. This is also where you will change the status of the property when it is Sold or Let. To do this simply click on the drop-down and choose the correct status.
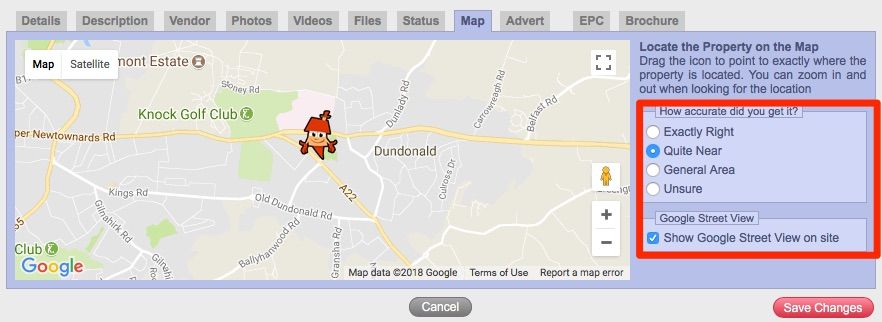
9. We move on then to the ‘Map’ screen. When we entered the postcode for the property on the ‘Property Details’ screen a marker was placed on the map corresponding with this postcode. Occasionally Google Maps is not quite pinpoint accurate on the placing of this marker. To adjust the marker, simply zoom into the map using the + button and drag our mascot to the exact spot. You will then need to rate how accurate you are with the marker! To do this simply click on the relevant accuracy rating on the right hand side of the map.
NOTE: Internet Explorer has been retired by Microsoft and you may not be able to see our icon on the map. This is because Google Maps functionality is no longer supported on this platform. Please download Google Chrome or Mozilla Firefox to access the CMS, where the map and our icon show correctly.
You can also choose to turn off Google Street View on PropertyPal.com. This is especially important if the vendor does not wish this to be shown. To turn it off simply un-tick the ‘Show Google Street View’ on site box.
NOTE: We are unable to turn Google off, this will simply not show Street View on PropertyPal.com.
10. The next page you come to is the ‘Advert’ page. This is the page that will show you the status of this property on PropertyPal.com. You will see that, at present, the property has ‘No Advert’. To list the property on PropertyPal.com click on the ‘List on PropertyPal.com’ button. A pop up will then show asking you to confirm that you are happy to list this property. If this is the case, click on ‘List on PropertyPal.com’.
Your property is now live on PropertyPal.com.
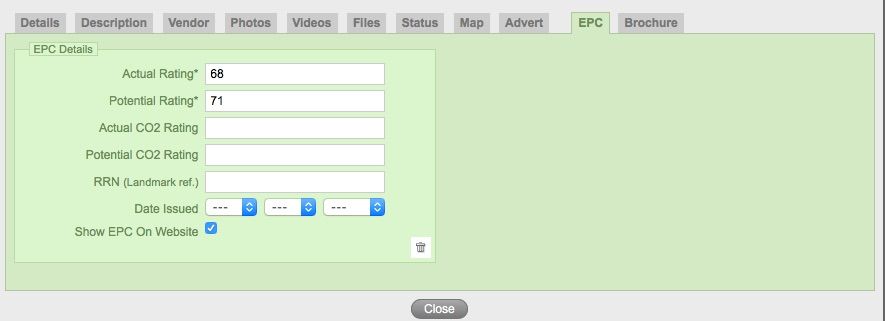
11. The next page is to enter the EPC details. You can also hide these details from public view by unticking the ‘Show EPC on the Website’ box.
12. For Brochures, please see the training section on Brochures and Lists.
Click ‘Finish’ – You have just added your first property!